

 James Abrams
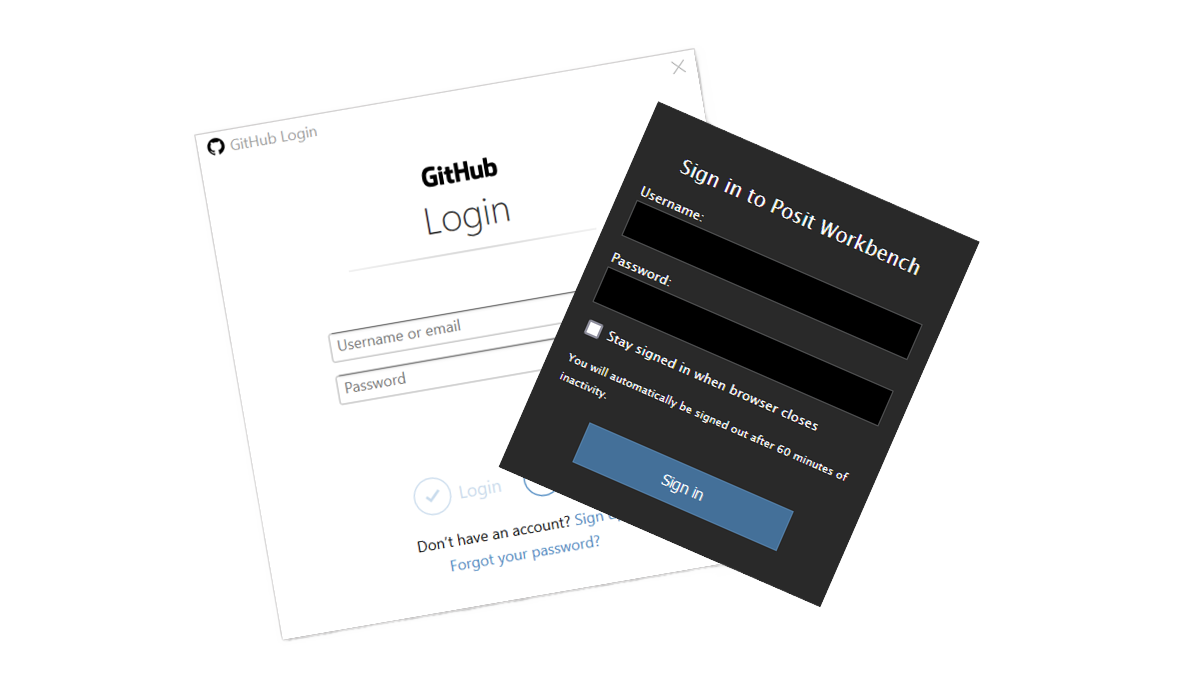
Connecting Posit Workbench (RStudio) to GitHub with HTTPS
If you're an RStudio user using Posit Workbench and want to use GitHub for source control (you should), this is the guide for you. There are two ways...

It has never been more intuitive to implement Git for version control in R Studio, thanks to the integrated graphic user interface for Git, allowing you to use simple commands to execute key operations. In this post we’ll look at how you can get up and running with the built-in Git interface R Studio has to offer.
Git is a version control system on steroids. It’s an example of a distributed version control system, which has been a useful tool for developers everywhere for many years. What makes Git so popular – and could revolutionise how you work – is that it gives each user complete control over their own code, while tidily synchronising with code from as many other authors as desired. Team members can publish, share, and review code changes through code branches shared with others.
In order to initiate Git with R Studio, the first step is to install Git on your workstation.
If your operating system is Windows, simply follow this link for a comprehensive Git installation on your machine:
Windows Installation
You can find a full description for how to download and install Git for alternative operating systems, such as Mac and Linux here.
For the purpose of learning how to manage version control, it is possible to implement a standalone system on your own workstation. However, to reach the full potential of this software and share projects with others, you’ll need to access a remote repository, such as Github (anyone is free to set up an account on Github – this is recommended).
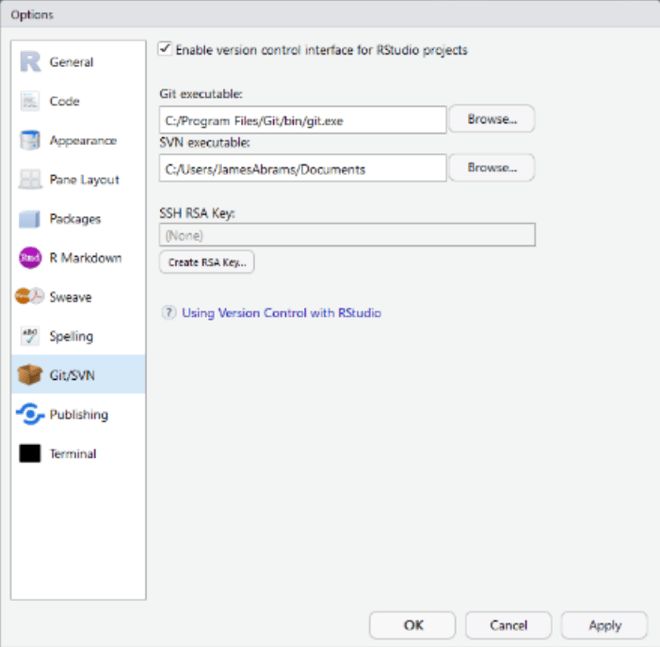
Once Git is installed, return to the R Studio environment, where it is now possible to activate the Git control system with the following steps:
Now this is complete, after restarting the R session the Git interface should now present itself to the user. Here we can find such commands as “commit”, “push” and “pull”, all valuable commands that we’ll explore later in this post.

In order to integrate an existing R project with version control, you first need to define an empty Git repository via Github (or another remote repository provider, such as Azure). Activating a new repository like this will generate a URL, to be referenced in the next step.
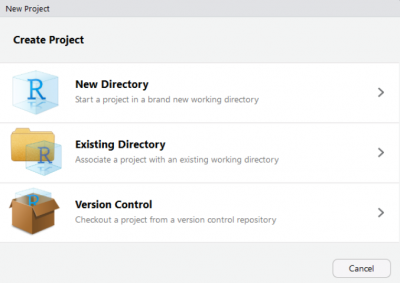
Once this is completed, navigate to the project menu window in R Studio, as displayed below left. From here, clicking on “Version Control”, and then “Git” will open the Git Repository window (below right), where our Repository URL can be referenced, and a Project name can be defined.
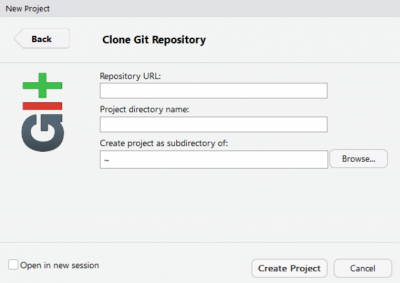
The newly created repository will now have been successfully cloned into the specified directory and will be available remotely for others to access and clone ready for use on their own local machines.
If you are working with a directory already under version control, we simply need to navigate to the project menu window as before, and on this occasion select “Existing Directory”. Locate an appropriate directory with the browse command, and R Studio’s version control features will present themselves as available for the chosen directory.
While working in Git, there are a handful of key concepts that you’ll encounter time and time again. Amongst these are branching and merging.
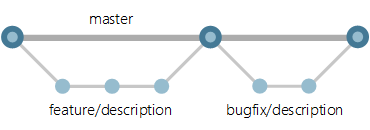
The diagram provides the fundamental strategy for any branching process. We can see that a separate branch is defined each time a new feature is introduced, as well as whenever a bug has been identified and fixed. This is good practice, that for each contribution to a new feature, or bug fix, a new branch is allocated, to highlight each contribution individually. The master branch is updated by merging branches into it, whenever desired.
To truly master the Git interface, there are several key commands to familiarise yourselves with to achieve a fully operational, fluid version control workflow. These include but are not limited to the aforementioned “commit”, “push” and “pull”. Additionally, “Diff”, “History” and “New Branch” all play an important role.
Let’s take a quick look at each of these commands.
Commit
Opens a window from where any changes to specific modules can be uploaded to the remote repository. Edited scripts must first be staged by ticking their corresponding checkboxes, then committed using the commit button, along with a brief message explaining any changes that have been made
Diff
Displays a listing of all the changes that have been made to the current version when compared with the most recently committed version. The listing is colour coded such that newly added lines appear in green text, and lines that have been removed appear in red
Push
A Push command can be implemented directly after a successful commit, to update the file stored in the remote repository
Pull
Pull changes that other developers have made to the online git repository down straight to your local machine R Studio environment
New Branch
Branching and merging of branches are powerful concepts in version control. It is good practice for each new task to be carried out on its own individual branch, with one master branch for merging separate components together as one.
History
View History of all previously recorded commits. Details include a map of individual branches and how they interlink, the author and date of each commit, as well as a unique reference code for each
This concludes my introduction to Git for R Studio and how these features can improve your workflow. Having read this article, hopefully you should now feel prepared to enter the world of Git and experiment with version control for yourselves!
Interested to learn more? For further reading around the topic be sure to check out:
If you're an RStudio user using Posit Workbench and want to use GitHub for source control (you should), this is the guide for you. There are two ways...

Many companies investing in data analytics struggle to achieve the full value of their investment, perhaps even becoming disillusioned. To understand...

We are cursed to live in interesting times. As I write this, a war in Ukraine rumbles on, we sit on the tail of a pandemic and at the jaws of a...